For most cosplay and display builds, the best approach is a 3D-printed blade reinforced with a threaded steel core rod, paired with an EVA-foam or 3D-printed crossguard and hilt. This combination gives you sharp, screen-accurate detail without the weight or convention headaches that come with wood or real steel. If your event has strict no-hard-materials rules, a full EVA-foam build with a lightweight dowel core is the safer substitute.
Here’s why this method wins for most hobbyists:
- Realism without the weight penalty. A printed blade holds crisp edges and bevels that foam alone struggles to replicate, but it still weighs far less than wood or metal.
- Convention friendliness. Most events accept 3D-printed plastic and foam props more readily than rigid metal or solid wood blades.
- Build time. Expect a couple of weeks with variable time depending on sanding and painting effort.
- Materials cost. Budget builds cost low amounts in materials; mid-range builds with better resin and paint cost moderate amounts; premium builds with cast parts or upgraded hardware cost higher amounts.
Want the full walkthrough, from pattern transfer to final clear coat? Jump to the step-by-step build section below for the complete process.
Key Takeaways
The fastest, safest route to a convincing Master Sword replica combines a 3D-printed or foam blade, a centered threaded steel core, and careful sanding before any paint goes on.
| Point | Details |
|---|---|
| Fastest build route | Foam or hybrid 3D-print builds take around 15 hours and clear most convention safety checks. |
| Best display-only route | Wood or forged metal builds deliver the most realism and weight but rarely pass convention weapon policies. |
| Core rod alignment is critical | A quarter-inch threaded steel rod must sit centered in the blade to avoid warping over time. |
| Check convention rules yearly | Weapon policies change often, so confirm your event’s current rules before you travel. |
| Buy when time or tools are limited | Propswords offers ready-made replica swords as a certified-safe alternative to a full DIY build. |
Table of Contents
- Master Sword Replica Guide: Tools and Materials Checklist
- Which Build Method Should You Choose?
- How Do You Build a Master Sword Replica Step by Step?
- How Do You Get a Realistic Metal Finish?
- Where Can You Find Accurate Master Sword Templates?
- What Convention Rules Should You Know Before You Build?
- How Do You Maintain and Store a Master Sword Replica?
- Why Is My Blade Warping or Rattling? Common Fixes
- What Are the Best Video and Written Tutorials to Follow?
- What I’ve Learned Building and Reviewing These Props
- When Should You Buy Instead of Build?
- Sources
- FAQ
Master Sword Replica Guide: Tools and Materials Checklist
Before you cut, print, or sand anything, gather your materials in three groups: core, body, and finish. Skipping this step is the number one reason builds stall halfway through, usually because someone runs out of epoxy at 11 p.m. the night before a convention.
Your core materials give the sword its skeleton. A quarter-inch threaded steel rod is the standard choice for reinforcing long, thin blades, since it resists the warping that plagues foam and resin over time, according to the build documentation behind the Decayed Master Sword 3D print guide. PVC pipe works as a lighter alternative for shorter props or hilts, and wooden dowels suit lightweight foam builds where flex isn’t a concern.
Body materials depend on your chosen method. EVA foam remains the go-to for cosplay-safe blades and guards because it’s light, cheap, and forgiving of mistakes. Plywood or MDF suits wood-carved builds aiming for a heavier, more traditional look, a technique documented in detail in hand-carved wooden Master Sword builds. Fiberglass and resin come into play for cast parts, like ornate pommels or guard medallions, where you want crisp detail that foam can’t hold.
Finish supplies turn a rough shape into something that reads as metal or aged material from ten feet away: Plasti Dip for sealing foam pores, Bondo or another body filler for smoothing seams, and a spray primer like Krylon to prep any surface for paint.
Tools you’ll actually use
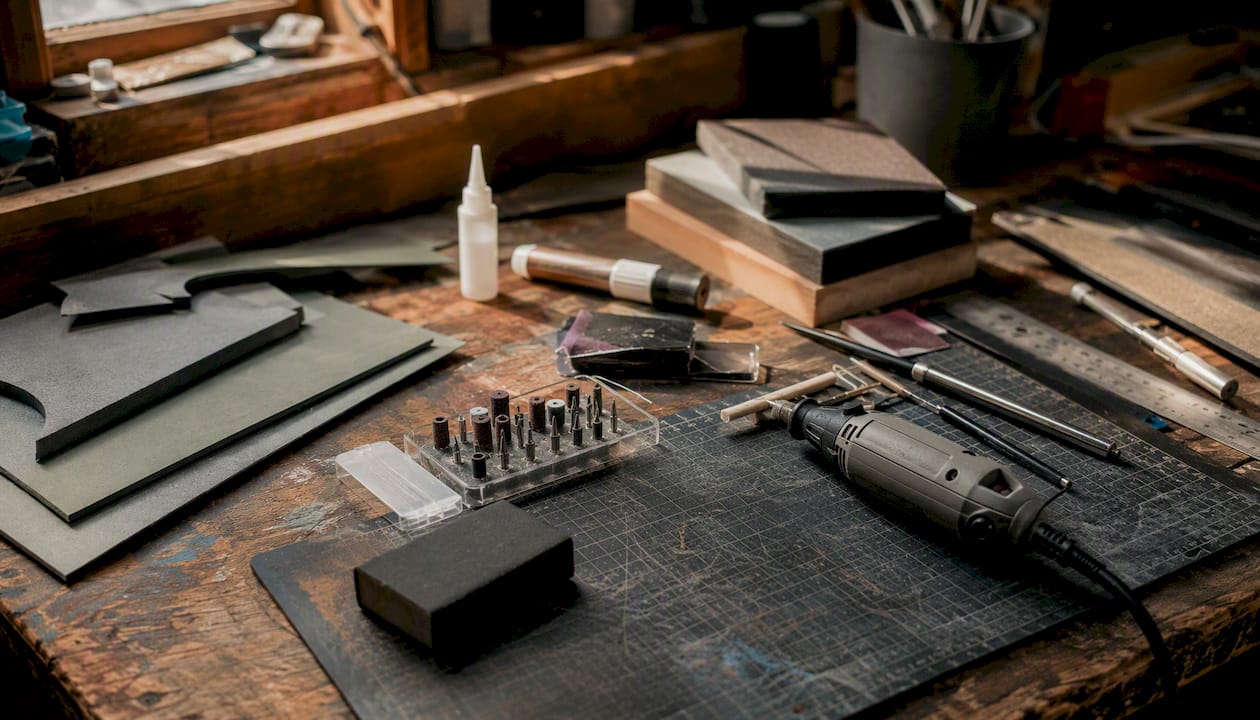
A Dremel or similar rotary tool handles detail carving, bevel cleanup, and drilling holes for pins or screws. Add a set of sanding blocks or an orbital sander, a hot glue gun for foam tacking, two-part epoxy for permanent bonds, basic paintbrushes and an airbrush if you have one, and either a 3D printer or access to a print-on-demand service if you’re going that route.
| Budget Tier | Materials (core, body, finish) | Tools Needed or Rented | Estimated Total Cost |
|---|---|---|---|
| Low (EVA foam build) | Foam sheets, dowel core, Plasti Dip, craft paint | Utility knife, hot glue gun, basic brushes | $40 to $80 |
| Medium (3D print + foam hybrid) | PLA filament, threaded steel rod, Bondo, spray primer, acrylics | Dremel, sander, epoxy, airbrush (optional) | $100 to $180 |
| High (resin cast or wood build) | Resin, fiberglass cloth or plywood/MDF, steel rod, premium topcoat | Table saw or band saw, lathe access, full paint kit | $220 to $350+ |
Reusable items like your Dremel, sanders, and airbrush pay for themselves across multiple builds, so it’s worth investing there. Foam, resin, and paint are consumables. Buy them in the quantity your pattern actually calls for rather than stockpiling, since foam degrades and resin has a shelf life once mixed components are opened.
Which Build Method Should You Choose?
Your choice comes down to four things: how realistic you want the finish, how much abuse the prop needs to survive, whether your convention allows it through the door, and how much time and money you’re willing to spend.
EVA foam is the most forgiving material for beginners. It cuts with scissors or a utility knife, glues with contact cement or hot glue, and forgives uneven edges once you seal and paint it. It’s also the safest bet for prop-compliance checks at most conventions, since foam reads as soft and low-risk to security staff.
Wood (plywood or MDF) gives you a heavier, more tactile prop that display collectors tend to prefer. Builders working from game reference images typically cut the silhouette from plywood, then shape bevels with rasps and sandpaper, and use a lathe for rounded hilt or pommel details, a process well documented in a detailed wooden Master Sword build log. Wood holds paint beautifully but adds weight fast, and solid wood blades get flagged at more events than foam or plastic.
Resin and 3D printing split the difference. Printed blades come out of the machine with sharp, repeatable detail, and cast resin parts nail fine ornamentation that’s nearly impossible to carve by hand. The trade-off is post-processing time. Printed parts need seam sanding and priming, and resin requires careful mixing and ventilation.
Real steel or forged builds deliver unmatched realism and the most durable finished product, and community forging projects show what’s achievable with enough shop access and metalworking skill, as demonstrated in a forged Master Sword build. Almost no convention allows a metal-edged or rigid steel blade on the floor, so this route suits display-only collectors, not cosplayers walking a con.
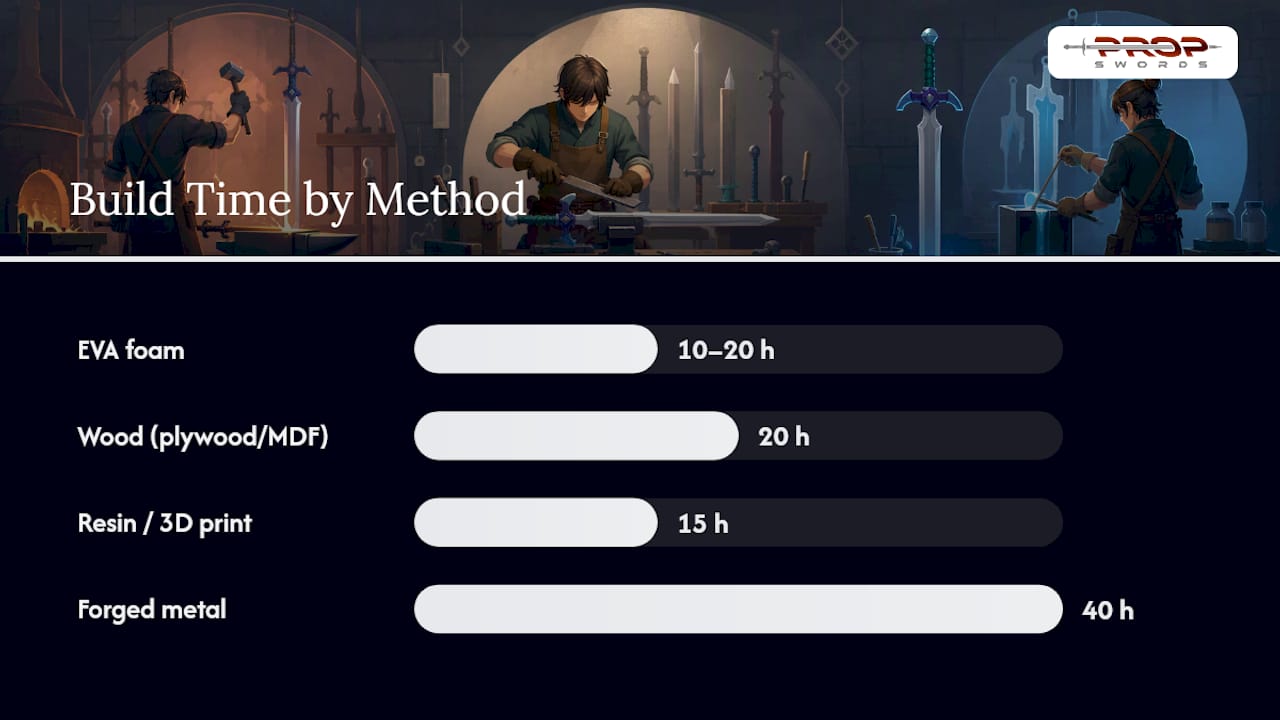
| Method | Realism / Detail | Durability | Convention Safety | Cost | Skill / Build Time |
|---|---|---|---|---|---|
| EVA foam | Good with careful sanding and paint | Moderate, dents but doesn’t shatter | Generally allowed | Low cost range | Beginner, 10 to 20 hours |
| Wood (plywood/MDF) | Very good, holds fine carved detail | High, but heavy and can crack if dropped | Often restricted, check event rules | Medium to high | Intermediate, 20 hours |
| Resin / 3D print hybrid | Excellent, crisp screen-accurate lines | High once reinforced with a core rod | Usually allowed if edges are blunted | Medium | Intermediate, 15 hours |
| Forged metal | Best possible, true material and weight | Highest, but heavy and edged | Rarely allowed at cosplay events | High | Advanced, 40 hours |
If you’re new to prop building, start with foam or a foam-and-print hybrid. If you’ve built one or two props already and want more visual punch, the resin/3D-print combination gives you the best realism-to-effort ratio. Save forged metal for a display piece you never intend to carry through a con floor, and always confirm your specific event’s weapon policy before you commit to a material, since rules vary widely from one convention to the next.
How Do You Build a Master Sword Replica Step by Step?
This walkthrough assumes a hybrid build: a 3D-printed or foam-carved blade, a threaded steel core, and a foam or printed crossguard and hilt. Adjust material-specific steps as needed for a pure wood or pure foam build.
- Transfer and scale your pattern. Print your reference pattern across multiple sheets (tile printing) if it’s larger than standard paper, then tape the tiles together and mark a centerline down the blade’s full length. This centerline is where your core rod will run, so accuracy here matters more than anywhere else in the build.
- Rough-cut the blade shape. For foam or wood, cut just outside your traced lines with a utility knife or jigsaw, leaving extra material to sand away. For 3D printing, split the model into printer-sized sections, a common technique when working with standard-bed printers, according to the Decayed Master Sword print guide.
- Bevel and shape the blade. Use a Dremel with a sanding drum attachment to cut the blade’s characteristic taper and central ridge. Work in light passes; you can always remove more material, but you can’t add it back without filler.
- Sand progressively. Start with coarse grit (80 to 100) to remove tool marks, then move through 150, 220, and 320 grit for a smooth base ready for primer.
- Build the crossguard and quillons. Layer foam or thin plywood sheets to build up the guard’s thickness, using registration pins or keys so each layer aligns exactly with the one below it. For printed guards, dry-fit all sections before gluing to confirm nothing warped during printing.
- Install the core rod. Rout or carve a centered channel through the blade and into the hilt, then epoxy the quarter-inch threaded steel rod in place. The rod is the single most common point of failure in long blades if it’s off-center, so check alignment from multiple angles before the epoxy sets, a detail emphasized in the Decayed Master Sword build documentation.
- Attach the guard to the core. Slide the guard assembly over the rod and secure it with epoxy, making sure the blade sits perfectly perpendicular to the crossguard when viewed from the front and side.
- Shape the grip. Wrap the handle core in thin foam or leather for cushioning, then add a leather or faux-leather wrap for texture and a better hand hold during extended wear.
- Attach the pommel. Thread or epoxy the pommel cap onto the end of the core rod, checking that the sword balances comfortably when gripped, not tip-heavy or hilt-heavy.
- Final fit check. Dry-assemble the entire sword one more time before any paint goes on, checking every seam, joint, and alignment point for gaps that need filling.
Community tutorials that walk through this exact sequence with photos, including the Instructables Master Sword build, are worth keeping open on a second screen while you work.
Keep these in mind as you move through each stage:
- Protect the exposed core rod with tape during sanding so grit doesn’t scratch the threading.
- Use small binder clips or rubber bands as improvised glue presses when clamps won’t fit an odd angle.
- Dry-fit every part twice before you commit to epoxy, which sets fast and doesn’t forgive misalignment.
Pro Tip: Number your foam or printed sections with a marker on the inside surface before disassembly for painting. It sounds unnecessary until you’re staring at six identical-looking guard pieces at 1 a.m. trying to remember which side faced up.
How Do You Get a Realistic Metal Finish?
Getting foam or resin to look like forged steel comes down to prep work more than paint choice. Skimp on sanding and no amount of paint will hide it.
Start by filling every seam, screw hole, and print line with Bondo or a lightweight body filler, then sand it flush once cured. This step alone determines whether your finished blade looks crisp or lumpy under convention lighting. Once the surface is smooth, seal foam parts with a few thin coats of Plasti Dip; this keeps the foam’s texture from telegraphing through your paint and protects it from minor dings. Non-foam parts, like resin or printed pieces, skip straight to primer.
Apply a spray primer, such as Krylon, in light, even coats, letting each one dry fully before the next. Primer reveals flaws that raw material hides, so this is your last chance to catch a rough patch before committing to color.
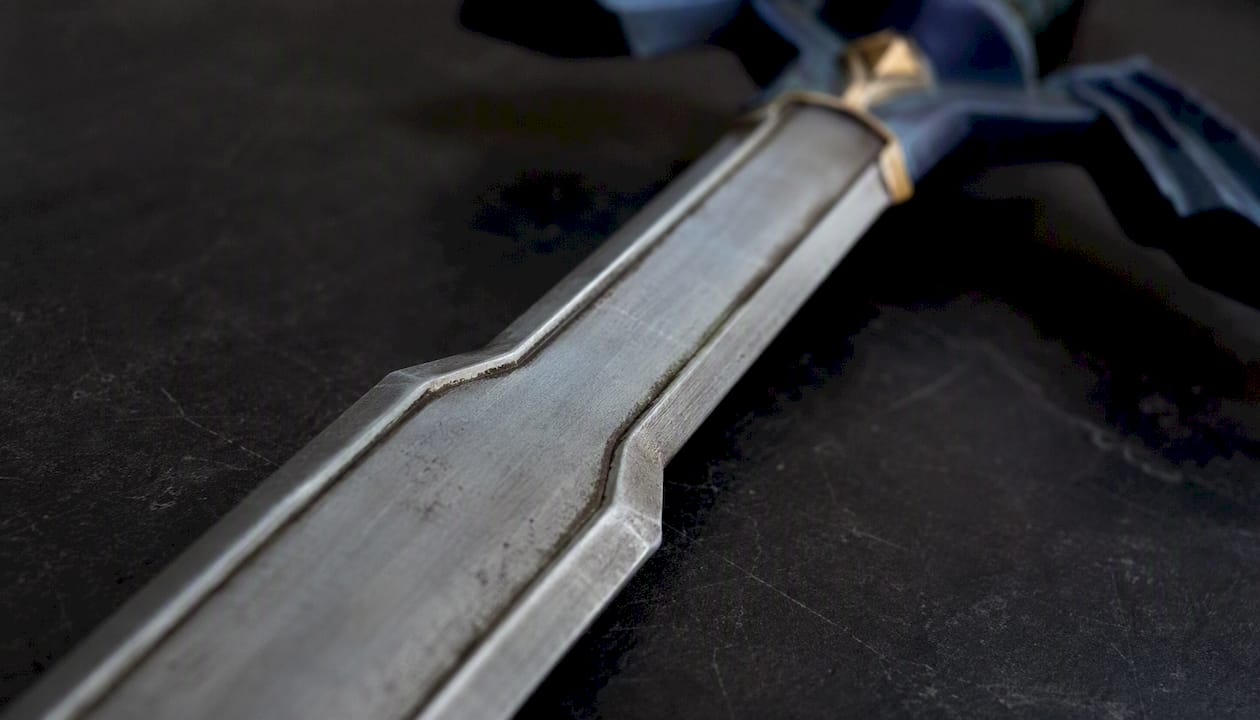
For the blade itself, lay down a metallic base coat, typically a steel or pewter tone, then build up highlights along the raised edges and ridges with a lighter dry-brushed silver. The crossguard and pommel usually get a warmer gold or bronze treatment to match the game’s iconic color scheme, applied the same way: base coat, then dry-brushed highlights on raised details.
Weathering is what separates a good paint job from a great one. A thinned black or brown acrylic wash settled into recesses and seams reads as age and grime under stage lighting, and a light dusting of dry pigment along edges mimics handling wear.
Finish with a clear topcoat rated for the base material you used. A satin or matte finish photographs better under harsh convention lighting, since a full gloss coat tends to blow out camera flashes and hide detail work. Always spray primer, paint, and sealant in a ventilated space and give each layer its full cure time; rushing this step is how bubbling and cracking happen weeks later, not on day one.
Where Can You Find Accurate Master Sword Templates?
You don’t need to freehand a pattern from memory. Community build logs and Instructables projects have already done the reference-matching work, and most share printable pattern files.
- The Instructables Master Sword tutorial includes a pattern breakdown alongside its full build steps, a solid starting point for a hybrid foam-and-print build.
- The Prop Agenda wooden build guide shows how to draft a pattern directly from in-game reference art, useful if you want a fully custom silhouette rather than a pre-made file.
- The Decayed Master Sword 3D print guide documents how one modeler split a full-size blade into printer-friendly sections, handy if you’re working with a standard-bed home printer.
Before you download or redistribute any of these, check the license. Many community pattern files circulate under Creative Commons BY-NC-SA 4.0, which permits personal, noncommercial use and derivative remixing as long as you credit the original creator and share your version under the same terms. That means you can absolutely modify a pattern for your own build, but you shouldn’t sell a resized version without checking the original creator’s terms first.
Scaling a pattern to your body is simple math once you know your target blade length. The in-game Master Sword measures roughly 105 cm total, and most builders scale from there based on height and arm reach. A builder at 5’6" (about 168 cm) often trims the blade closer to 95 to 100 cm total length for better proportion and easier handling, while a builder at 6’2" (about 188 cm) can comfortably run the full 105 to 110 cm without the prop looking oversized. Adjust the crossguard width proportionally. A wider quillon on a shorter blade will look cartoonish, while a too-narrow guard on a longer blade looks flimsy.
If you want to redraw a pattern digitally rather than trace it by hand, vector software like Autodesk’s design tools let you convert a raster reference image into clean, scalable line art you can resize without losing edge quality, which matters a lot once you’re tiling a pattern across multiple pages for printing.
What Convention Rules Should You Know Before You Build?
Most convention weapon policies favor foam, 3D-printed plastic, and other soft or blunt materials over anything rigid or edged, since security staff are screening for anything that could cause real injury in a crowd. That’s part of why the hybrid foam-and-print approach recommended earlier in this guide clears more doors than a wood or metal build does, a pattern confirmed across multiple community build documentation sources, including guidance built into the Instructables Master Sword project.
A safe, compliant prop generally checks these boxes: no exposed sharp edges anywhere on the blade or guard, no functioning locking or spring mechanisms, materials limited to foam, plastic, or lightly reinforced resin rather than solid metal or wood, and any length markings or peace-bonding required by the specific event applied before you walk in.
Every convention writes its own rules, and they change from year to year. Always pull up the current weapons policy for your specific event a few weeks before you travel, not the version you remember from last year.
Getting your prop there in one piece matters as much as building it correctly:
- Disassemble the sword into its main sections (blade, guard, hilt) for transport rather than carrying it fully assembled.
- Wrap the core rod ends and any exposed points in foam padding or bubble wrap.
- Use a rigid golf-bag-style carry tube for long blades instead of a soft case, which offers almost no impact protection.
- Secure loose parts like the pommel or removable guard pieces in a small padded pouch so they don’t rattle around and crack.
Pro Tip: *Pack a small emergency kit with your prop: a tube of gel superglue, a folded strip of gaffer tape, and a fine-grit sanding sponge.
How Do You Maintain and Store a Master Sword Replica?
A well-built replica can last for years of convention use if you check it over regularly instead of only noticing problems mid-event.
After every wear, inspect the core rod for any new play or looseness where it meets the guard or pommel, run your fingers along the blade edges checking for chips or lifted paint, and confirm the grip wrap hasn’t started to separate from the handle core.
Small nicks and chips are quick fixes, not rebuild triggers. Spot-fill a chip with two-part epoxy or a dab of Bondo, let it cure, sand it flush, and touch up the paint with acrylics matched to your original mix. Loose trim pieces usually just need a fresh bead of epoxy rather than a full reattachment.
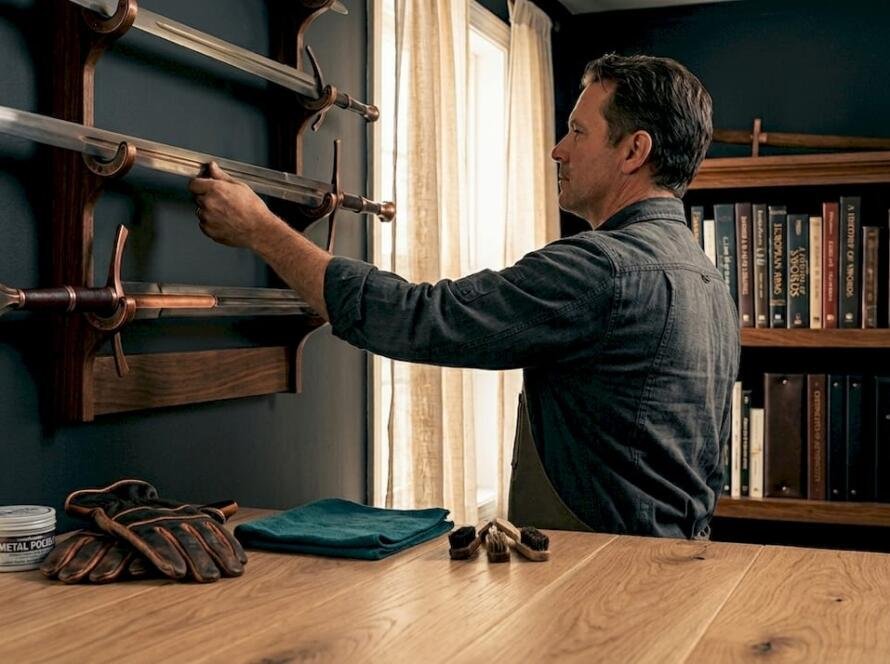
Storage matters more than most builders expect. Keep the prop somewhere with stable humidity, since swings between damp and dry air cause foam to warp and wood to crack over time, a concern echoed in wooden Master Sword build documentation that notes solid wood props are especially prone to seasonal movement. A padded wall mount or a foam-lined rack keeps the blade straight rather than leaning it in a closet corner where gravity slowly bends it. If you’ve wrapped the grip in real leather, unwrap it every few months for a light conditioning treatment. Leather left compressed and untouched for a year will crack right where your hand grips it hardest.
For deeper cleaning and long-term preservation methods, a dedicated replica sword maintenance guide covers routines that apply whether your prop is foam, resin, or steel.
Why Is My Blade Warping or Rattling? Common Fixes
Every builder hits the same handful of problems. Here’s how to diagnose and fix the ones that come up most.
| Problem | Likely Cause | Fix |
|---|---|---|
| Blade bows or warps | Core rod off-center or too thin for blade length | Remove and reinstall a properly centered rod; add a second parallel rod for extra-long blades |
| Guard wobbles or shifts | Insufficient glue surface or missing registration keys | Rout small alignment notches and re-epoxy with a stronger structural adhesive |
| Rattling sound inside hilt | Loose fit between core rod and internal channel | Pack the gap with expanding foam or epoxy putty before final assembly |
| Paint chips or peels quickly | Skipped primer or paint applied over unsealed foam | Strip back to bare material, seal with Plasti Dip, then reprime properly |
| Sword feels tip-heavy or unbalanced | Pommel too light relative to blade mass | Add weight (washers, small steel discs) inside the pommel cavity before sealing |
When a long blade shows a visible bow, don’t guess. Lay it flat on a level surface and measure the gap at the midpoint with a ruler. If it’s more than a quarter inch off straight, check where your core rod sits relative to the blade’s centerline; a rod installed even slightly off-axis will pull the whole blade in one direction as materials settle. For blades longer than about 90 cm, consider staggering two thinner rods side by side instead of relying on one, which distributes stress more evenly.
Not every flaw needs a rebuild. A small paint scuff or a slightly uneven bevel a few inches from the tip is a cosmetic issue nobody but you will notice at three feet away. Reserve full disassembly for structural problems: a cracked core channel, a guard that’s genuinely loose, or a rod that’s visibly bent. Chasing perfection on every square inch is how builds stall out for months.
What Are the Best Video and Written Tutorials to Follow?
A few community resources stand out for how much they show, not just tell.
- The Instructables Master Sword build walks through pattern transfer, blade shaping, and guard assembly with photos at each stage, ideal if you’re building your first hybrid foam-and-print sword.
- The forged Master Sword project documents real metalworking and forging steps for builders chasing museum-grade realism on a display-only piece.
- The Prop Agenda wooden build covers plywood cutting, rasp shaping, and lathe-turned guard details, a strong reference if you’re leaning toward a traditional wood build.
- The Decayed Master Sword 3D print guide breaks down splitting a model for home printers and the threaded-rod reinforcement method used throughout this guide.
That single principle, drawn from documented 3D-print build practices, is worth remembering more than any single painting technique in this guide. If you’d rather buy a finished blank to skip the printing or carving stage entirely, Propswords carries ready-made replica swords that work as a display centerpiece or a base you customize further with your own paint and weathering.
What I’ve Learned Building and Reviewing These Props
The biggest misconception new builders carry into their first Master Sword project is that realism comes from the paint job. It doesn’t. It comes from the sanding you do before any primer touches the surface. A rough foam bevel under a perfect paint job still looks like rough foam with silver on it. Slow down at the sanding stage even when it feels tedious, because that’s where the visual payoff actually lives.
The second lesson worth repeating: don’t skip the dry-fit. Every build log worth trusting, from the wood-carved projects to the 3D-print hybrids, stresses assembling the whole sword before any glue or epoxy goes permanent. It’s an extra hour of your time against a ruined guard you have to reprint or recut.
On cost versus time trade-offs, foam and hybrid builds hit the sweet spot for most people. A full wood build looks fantastic sitting on a display shelf, but the extra 15 to 20 hours of shop time and the added weight make it a rough choice if you’re planning to wear the thing at a convention for eight hours straight. Match the build to how you’ll actually use the finished prop, not to whichever version looks most impressive in a photo.
When Should You Buy Instead of Build?
Building a Master Sword replica is genuinely rewarding, but it’s not always the right call. If you’re short on time before an event, don’t have shop tools or a 3D printer, or just want a certified-safe blade without gambling on your first attempt at core alignment, buying a finished replica solves all three problems in one purchase.
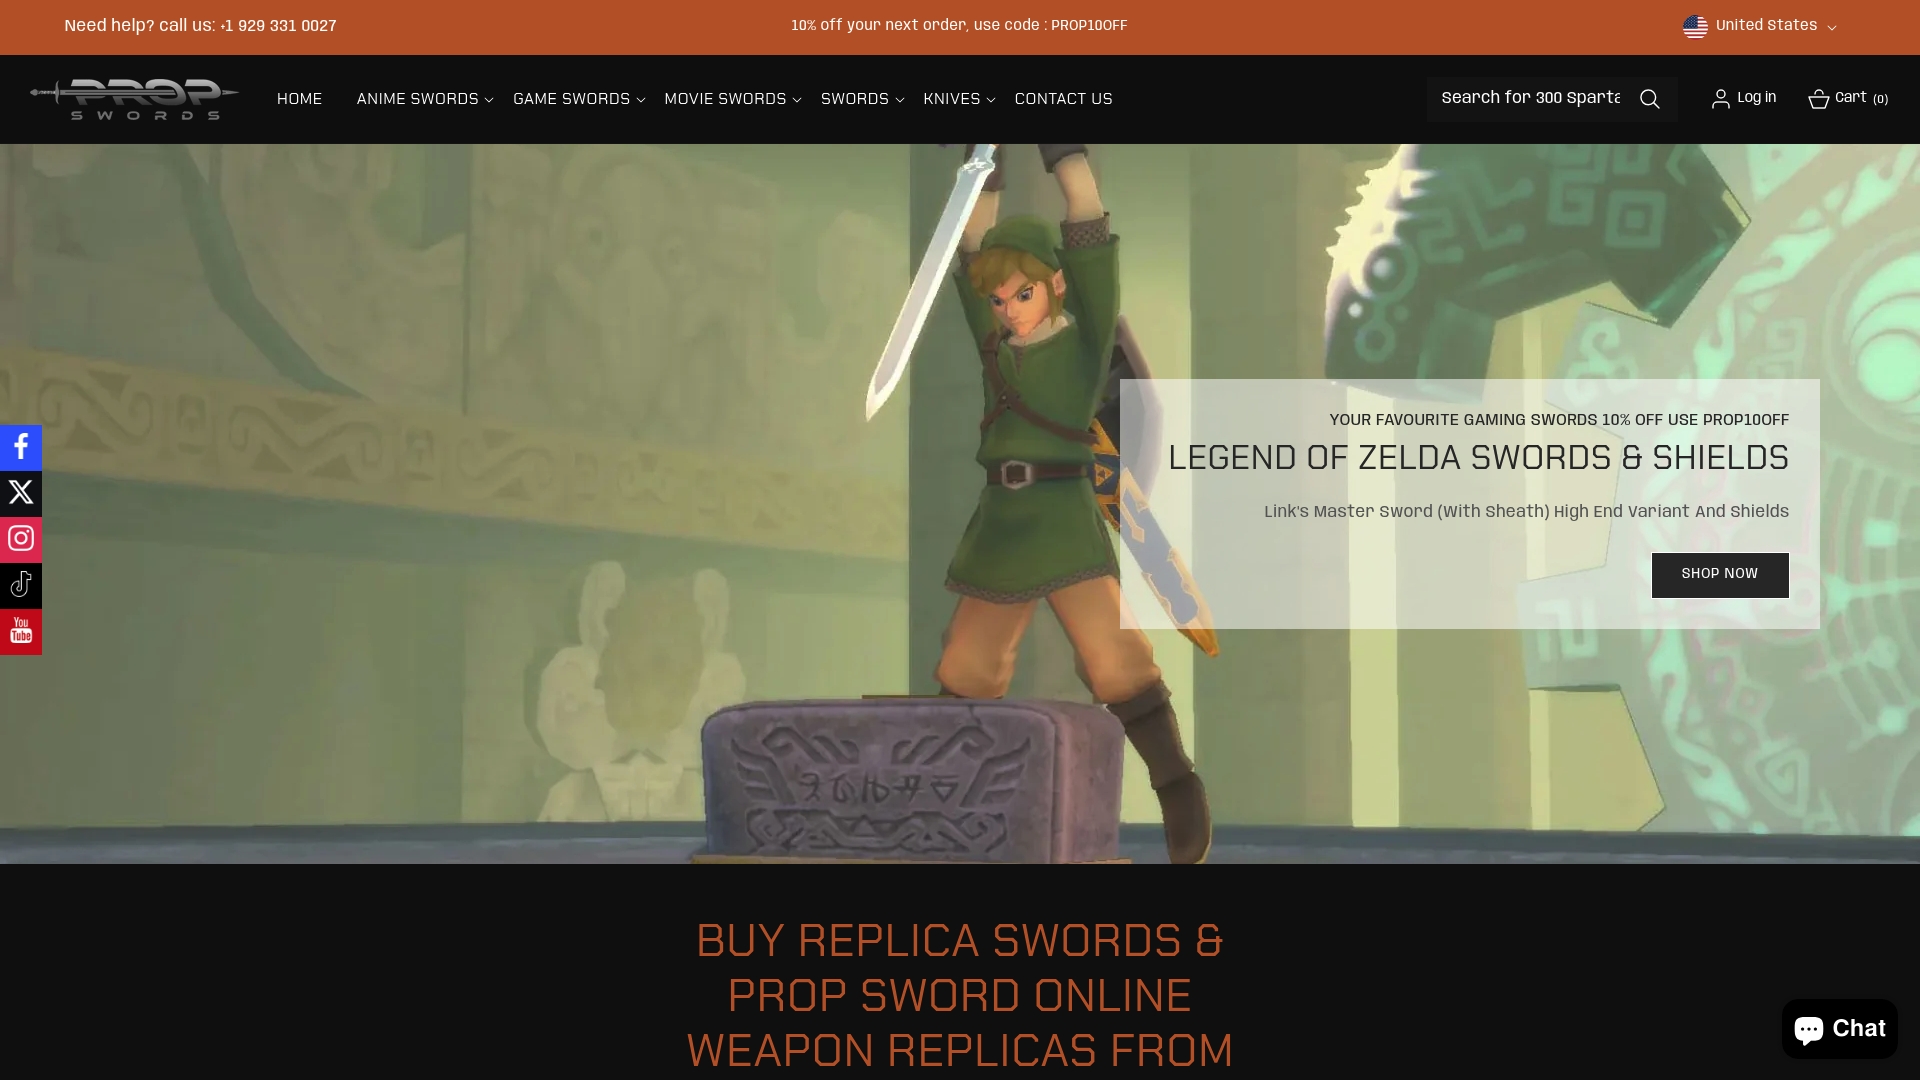
Propswords stocks ready-to-display and cosplay-appropriate replica swords built with the same material logic covered throughout this guide, foam and resin construction that clears convention floors without sacrificing screen-accurate detail. Browse the best replica swords roundup if you want a strong out-of-box option for display or photos, or check the cosplay weaponry guide for a breakdown of which styles and materials pass event safety checks most reliably. If you’re prepping a build or a bought prop for an upcoming con, the cosplay sword preparation guide covers the transport and last-minute touch-up steps that keep your sword looking sharp from the parking lot to the con floor.
Display collectors chasing weight and material authenticity should lean toward heavier resin or metal-look pieces; cosplayers walking a convention floor for hours should prioritize lightweight foam or hybrid builds every time. Propswords ships within the USA with straightforward returns, so if a piece doesn’t match what you pictured, sending it back isn’t a fight. Ready to skip the sanding and jump straight to the fun part? Browse the current replica sword lineup and pick your next centerpiece.
Sources
- Forging Links Master Sword – Twilight Princess Version : 12 Steps (with Pictures) – Instructables
- Decayed Master Sword 3D Print: Build Guide | Make/Do
- Legend of Zelda Master Sword | Prop Agenda
FAQ
What is the best Master Sword replica for most builders?
For most hobbyists, a 3D-printed or foam-hybrid blade with a threaded steel core delivers the best balance of realism, weight, and convention safety. If building isn’t practical, a ready-made replica sword from Propswords offers a comparable finished look without the build time.
Can you duplicate the Master Sword exactly from official specs?
You can get very close using community pattern files and the roughly 105 cm reference length, but exact official specs for internal construction aren’t publicly published, so most builds work from careful measurement of screenshots and fan-documented dimensions.
Is there an official Master Sword replica available to buy?
Yes, licensed collector products exist, including a Proplica-branded Master Sword replica made from PVC and ABS, sold as a retail alternative to a DIY build.
Is there a real steel Master Sword replica available?
Forged, metal-style builds exist within the maker community and demonstrate real steel construction techniques, but solid steel versions are display pieces only. They fail almost every convention’s weapon policy for cosplay use.
What’s the most common mistake in a first-time build?
Skipping progressive sanding before priming and paint. A rough surface under paint still reads as rough, and it’s the single biggest gap between a convincing prop and one that looks obviously homemade.
Recommended