TL;DR:
- Prop sword painting involves applying primers, paints, and sealing techniques to create realistic, durable swords for cosplay or display. Proper surface preparation, layering, and sealing are essential to achieve a convincing metal appearance and prevent paint failure. Using thin coats, logical weathering, and sealed finishes ensures long-lasting, lifelike results.
Prop sword painting is the process of applying specialized primers, paints, and finishing techniques to create realistic, durable swords for cosplay or display. The standard workflow covers surface preparation, base coating, dry brushing, washes, weathering, and sealing. Done correctly, it transforms a plain foam, resin, or 3D printed prop into a piece that reads as genuine metal under convention lighting. This guide walks you through every stage, from the first sheet of sandpaper to the final clear coat, with techniques used by experienced prop makers in 2026.
What does a complete guide to prop sword painting cover?
Prop sword painting draws from the same discipline as scale modeling and miniature painting, but the scale and materials differ significantly. The goal is not just color. It is texture, depth, and wear that make a blade look like it has seen actual use. The three pillars of a successful paint job are adhesion, layering, and sealing. Skip any one of them and the result shows.
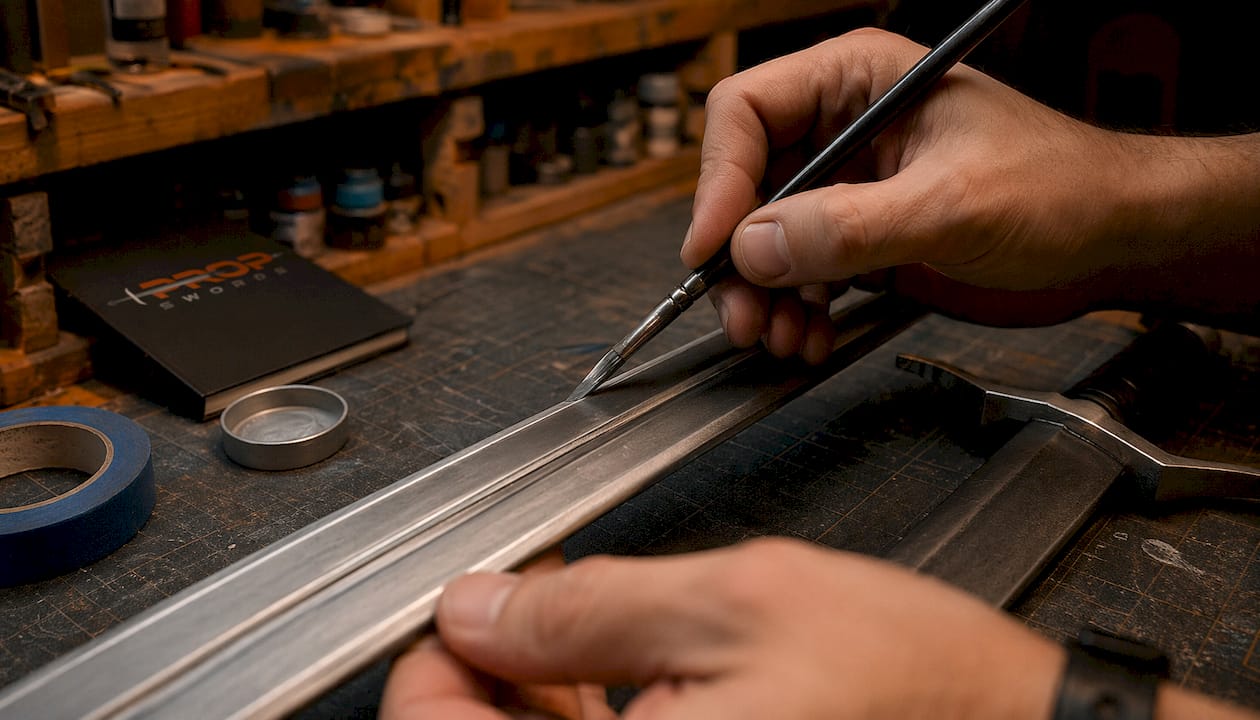
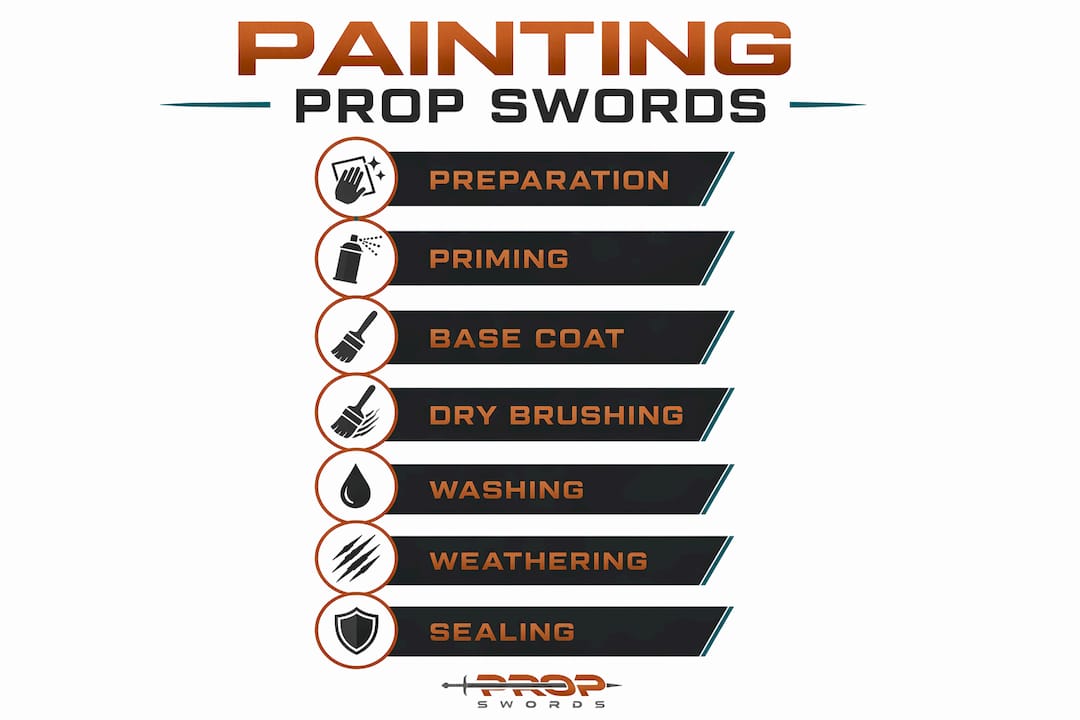
The techniques that matter most are priming for adhesion, base coating for color foundation, dry brushing for edge highlights, washes for shadow and depth, and clear coating for protection. Each step builds on the last. Rushing a layer before it dries is the single most common reason paint jobs fail.
Propswords carries a wide range of replica swords for cosplay that serve as excellent starting points for custom paint work, whether you are working with a foam blade or a resin cast.
What materials do you need for painting prop swords?
The right materials make the difference between a paint job that lasts one convention and one that lasts years. Here is what you need before you open a single can.
Primers
- Spray primer (gray or black): bonds to the surface and gives paint something to grip
- Filler primer (sandable): fills small scratches and surface texture before the color coat
- Textured spray paint: used in the Druj Method to hide 3D print layer lines quickly
Paints
- Acrylic paints from Vallejo, Citadel, and Army Painter are the most widely recommended for detailed brush work on cosplay props. They thin easily with water, dry fast, and clean up without solvents.
- Metallic spray enamels: cover large blade surfaces quickly and produce a consistent sheen
- Wash paints (brown, black, sepia): pre-thinned paints designed to pool in recesses and create shadow
Brushes and tools
- Flat brush (large): base coating broad surfaces
- Dry brush (stiff, splayed): picking up and dragging small amounts of paint across raised edges
- Detail brush (fine point): lettering, runes, and small decorative elements
- Sponge: stippling rust and corrosion effects
Surface prep and safety
- Sandpaper in 120, 220, and 400 grit
- Epoxy putty or modeling compound for gap filling
- Respirator rated for spray paint fumes
- Nitrile gloves
| Material | Type | Role |
|---|---|---|
| Gray spray primer | Surface prep | Bonds paint to prop surface |
| Filler primer | Surface prep | Smooths scratches and texture |
| Acrylic paint | Color coat | Detail work and layering |
| Metallic spray enamel | Color coat | Fast, even coverage on blades |
| Wash paint | Depth layer | Adds shadow and aging |
| Clear coat | Finishing | Protects and sets final sheen |
| Dry brush | Tool | Highlights raised edges |
Pro Tip: Buy a cheap foam brush and use it to test your primer on a scrap piece of the same material as your prop before committing to the full surface. Foam reacts differently than resin or PLA, and catching adhesion problems early saves hours of rework.
How do you prepare a prop sword surface before painting?
Surface preparation determines whether your paint job lasts or peels. A smooth, primed surface is not optional. It is the foundation every coat depends on.
- Inspect the prop. Look for seam lines, print layer lines, pits, and rough patches. Mark them with a pencil so you do not miss any during sanding.
- Sand with 120 grit. Work along the length of the blade, not across it. This removes mold lines and levels the roughest texture.
- Fill gaps and seams. Press epoxy putty into any gaps and let it cure fully. Sand flush with 220 grit once hardened.
- Sand again with 400 grit. This final pass smooths the filler and creates a consistent surface for primer.
- Wipe down the prop. Use a lint-free cloth to remove all dust. Any particles left on the surface will show through the primer.
- Apply primer. Hold the can 10–12 inches from the surface and use short, overlapping passes. Spray primer must be shaken at least one minute upside-down before use. Skipping this step causes uneven spray and finish defects.
- Let it dry fully. Do not rush. Check the can’s stated dry time and add 15 minutes in humid conditions.
- Inspect and sand lightly. If the primer reveals new texture or dust nibs, sand with 400 grit and apply a second thin coat.
For 3D printed props, the Druj Method offers a faster path. It uses textured spray paint as a high-build filler, followed by sandable filler primer, to hide layer lines without hours of manual sanding. Matte PLA filament improves primer adhesion due to better surface texture compared to glossy PLA, which requires extra sanding to prevent peeling.
Pro Tip: Foam props need a flex primer or a dedicated foam sealant before any spray paint. Standard spray primers contain solvents that dissolve foam on contact. Plasti-Dip or a water-based foam sealant applied first prevents this.
What painting techniques create realistic metallic finishes?
The metallic, battle-worn look that makes a prop sword convincing comes from layering three techniques: base coating, dry brushing, and washes. Each one does a specific job.
Base coat: building the color foundation
Start with a dark base coat. Black or dark gray works best for metal because it creates depth in the recesses that lighter colors cannot replicate. All paints and primers should be applied in multiple thin coats for superior detail retention and manageable drying times. Drying times typically range from 30 to 60 minutes between coats for spray enamels. Rushing this stage causes runs and obscures surface detail.
Dry brushing: adding edge highlights
Dry brushing is the technique that makes a blade look like forged metal. Load a stiff brush with metallic paint, then wipe almost all of it off on a paper towel. Drag what remains across raised edges, ridges, and the flat of the blade. Dry brushing consumes less than 15% of the paint volume used for the base coat. That restraint is the point. The effect mimics the way real metal catches light on its sharpest edges.
Washes: creating shadow and depth
A wash is a very thin, dark paint that flows into recesses and dries there, creating the illusion of shadow. Paint washes and weathering equal the base coat in importance for realism. Beginners often fear washes will ruin their work. They will not. Apply a brown or black wash over the entire blade, then wipe the raised surfaces clean with a damp cloth before it dries. The recesses keep the dark tone; the high points stay bright.
Weathering: making it look used
Weathering adds scratches, rust patches, and wear marks. The key rule is logic. Proper weathering focuses on logically worn areas such as edges and handles. Over-weathering on random areas undermines prop realism and makes the sword look like a toy that was dragged through mud. Apply rust effects at the base of the blade near the guard, at the tip, and along the cutting edge. Leave the flat of the blade relatively clean.
| Technique | Tool | Visual effect |
|---|---|---|
| Dark base coat | Spray can or flat brush | Creates depth in recesses |
| Dry brushing | Stiff, splayed brush | Highlights raised edges and ridges |
| Wash | Detail brush or sponge | Adds shadow and aging in recesses |
| Stippling | Torn sponge | Rust texture and corrosion patches |
| Edge scratches | Fine brush | Simulates blade contact and wear |
How do you seal a painted prop sword for durability?
Sealing is the last step and the one most hobbyists skip. That is a mistake. A clear coat protects every hour of work underneath it from chipping, scratching, and moisture.
- Matte clear coat: removes all shine and gives the prop a flat, realistic metal look. Best for display pieces and photography.
- Satin clear coat: adds a slight sheen that mimics oiled or polished steel. The most versatile option for convention use.
- Gloss clear coat: high shine, best for decorative or fantasy blades where a polished look fits the character design.
Sealing painted props with two thin coats is the standard recommendation. Let each coat dry fully before handling. Applying a thick single coat causes clouding and drips that are very difficult to fix without stripping the surface.
For props that will travel to conventions, add a third coat on high-contact areas like the handle and guard. These spots take the most wear from handling and transport.
Pro Tip: Always test your clear coat on a painted scrap piece first. Some matte clears react with metallic paints and leave a chalky residue. Testing takes five minutes and prevents ruining a finished prop.
Common mistakes in prop sword painting and how to avoid them
Most failed paint jobs share the same small set of errors. Knowing them in advance saves significant time and frustration.
- Thick single coats. Paint applied too heavily runs, obscures detail, and takes far longer to dry. Always apply thin layers.
- Skipping primer. Paint applied directly to bare foam, resin, or PLA will peel within days. Primer is not optional.
- Painting in poor conditions. Spray paint applied in temperatures below 50°F or above 90°F, or in high humidity, dries unevenly and may never fully cure.
- Random weathering. Scratches and rust applied without logic read as fake immediately. Restrict wear marks to edges, grips, and tips.
- Skipping the sealer. An unsealed prop will show chips after one convention. Clear coat every finished piece.
- Not wearing a respirator. Spray primer and enamel fumes are harmful with repeated exposure. Work outdoors or in a ventilated space and wear a proper respirator, not a dust mask.
Patience is the most underrated tool in prop painting. A paint job built from six thin layers over two days will outlast and outperform one rushed in an afternoon every single time. The prop does not care about your deadline. The chemistry does.
Key Takeaways
Successful prop sword painting requires layered technique, proper surface prep, and a sealed finish to achieve lasting realism.
| Point | Details |
|---|---|
| Surface prep is non-negotiable | Sand, fill seams, and prime before any color coat to prevent peeling. |
| Layer thin coats | Multiple thin coats outperform single thick ones in detail and durability. |
| Dry brush for metal highlights | Drag near-dry metallic paint across raised edges to simulate forged steel. |
| Weather logically | Apply wear marks only to edges, handles, and tips for a convincing result. |
| Seal every finished prop | Two thin clear coats protect paint from convention handling and transport. |
What I have learned from painting dozens of prop swords
The thing that separates a convincing prop from a painted toy is not talent. It is patience with the layering process. Every time I have rushed a base coat or skipped a drying window, the result showed. Every time I slowed down and let each layer cure properly, the finished piece looked like something that belonged in a film production.
The weathering step is where most hobbyists either give up or go too far. I used to cover entire blades in rust and scratches because it felt dramatic. The result looked like a prop from a low-budget haunted house. Restricting wear to logical contact points, the cutting edge, the tip, the grip where a hand would actually hold it, is what creates believability. Study reference photos of real aged swords. The wear patterns tell a story.
My honest recommendation for beginners: do not start on your best prop. Buy an inexpensive replica sword for practice and run through the full process once without pressure. You will make mistakes on that first piece that you will never make again. The second prop will be noticeably better. The third will surprise you.
The cosplay prop community is also one of the most generous knowledge-sharing communities in the hobby space. Forums, Discord servers, and YouTube channels dedicated to prop making share techniques freely. Use them. No single guide covers every material or every character design.
— Muhammad
Propswords has the right base for your next paint project
A great paint job starts with a great prop. Propswords carries a curated selection of high-quality replica swords built from materials that take primer and paint well, including anime-inspired blades, Viking designs, and movie replicas.

Whether you are building a full cosplay costume or adding a painted display piece to your collection, the right base sword makes every technique in this guide easier to execute. Propswords offers free shipping within the USA, so you can get your next project started without the extra cost. Browse the full selection and find the blade that fits your character or collection.
FAQ
What is the best paint for prop swords?
Acrylic paints from Vallejo, Citadel, and Army Painter are the most recommended for detailed brush work on prop swords. Metallic spray enamels work well for fast, even coverage on large blade surfaces.
How many coats of primer does a prop sword need?
Two thin coats of primer are standard. If the first coat reveals texture or surface defects, sand lightly and apply a second coat before moving to color.
Can you paint foam prop swords with spray paint?
Standard spray primers dissolve foam on contact. Seal foam props first with Plasti-Dip or a water-based foam sealant, then apply a flex primer before any color coat.
How do you make a prop sword look like real metal?
Apply a dark base coat, dry brush lighter metallic paint onto raised edges, then apply a brown or black wash into the recesses. Restrict weathering to edges and the handle for a realistic result.
Do you need to seal a painted prop sword?
Yes. Two thin coats of clear coat protect the paint from chipping during convention handling and transport. Choose matte for a flat metal look or satin for a slight sheen.
Recommended