TL;DR:
- Creating sword cosplay armor involves a detailed, multi-step process from design to finishing to ensure durability and realism. Proper material choice, precise patterning, and patience in seaming, sealing, and painting prevent common issues like cracking and warping, resulting in professional-quality props. Finishing, including multi-layer sealing and weathering, is crucial and often underestimated, but it distinguishes beginner work from a convincing and high-quality costume.
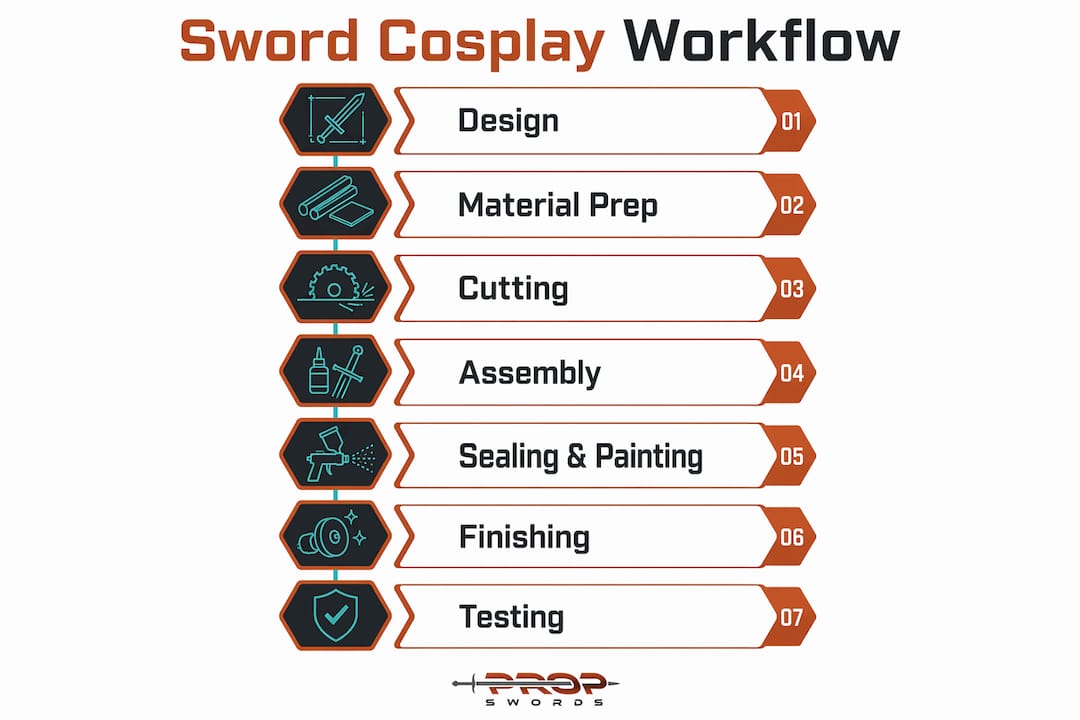
The workflow for sword cosplay armor is defined as a structured, multi-stage process covering design, material selection, cutting, shaping, assembly, and finishing to produce durable, realistic cosplay props. Makers who skip any stage end up with props that crack, warp, or fall apart at conventions. This guide walks you through every stage, from gathering reference images to applying the final weathering coat, using recognized techniques like EVA foam heat shaping, 3D print seam engineering, and multi-layer finishing. Propswords recommends pairing a well-built armor piece with a quality replica sword for the most complete cosplay presentation.
What materials and tools are essential for sword cosplay armor crafting?
The right materials determine whether your armor survives a full convention day or falls apart by noon. EVA foam in 5–10mm thickness is the most common base material. It is lightweight, inexpensive, and easy to heat shape. Worbla thermoplastic works well for fine detail overlays and rigid accent pieces. For 3D printed components, PLA is the standard choice for rigid parts, while PETG offers better impact resistance for pieces that take stress.
Structural cores matter as much as surface materials. PVC pipes and wooden dowels give sword props their rigidity and prevent blade flex during handling. Without a solid core, even the best foam or printed shell will bend and distort.
| Material | Typical Use | Key Advantage |
|---|---|---|
| EVA foam (5–10mm) | Blade body, armor plates | Lightweight, heat shapeable |
| Worbla | Detail overlays, guards | Self-adhesive when heated |
| PLA filament | Rigid printed parts | Easy to sand and prime |
| PETG filament | Stress-bearing printed parts | Higher impact resistance |
| PVC pipe / dowel | Internal core | Structural rigidity |
The tools you choose directly affect the quality of your cuts and joins. A Dremel rotary tool handles sanding seams, carving surface details, and adding texture and battle damage. A heat gun is non-negotiable for shaping EVA foam. Sharp craft knives and a self-healing cutting mat keep your edges clean. For adhesives, contact cement bonds EVA foam surfaces, CA glue works on flat-sanded PLA, and two-part epoxy is the correct choice for PETG.
Pro Tip: Use a flexible primer like Plasti Dip or Flexbond as your first sealing coat. Rigid primers crack when foam flexes during wear, and you will lose hours of paint work.
How to plan, design, and pattern sword cosplay armor for best fit?
Accurate planning prevents the most common cosplay armor failures: poor fit, weak seams, and parts that do not align. Start by collecting high-resolution reference images of your character from multiple angles. Front, side, and back views give you the geometry you need to draft accurate patterns.
The plastic wrap and tape method is the most reliable way to create body-fitted patterns. Wrap the target body area in plastic wrap, cover it with two layers of masking tape, then draw your panel lines directly on the tape. Cut the tape shell off, flatten it, and you have a pattern that matches the wearer’s exact contours. This technique works for both chest armor and sword guard shapes.
For 3D printed sword components, seam placement is a structural decision, not just an aesthetic one. Splitting sword blades at mid-length with the seam running perpendicular to the blade’s flex direction maintains structural strength under handling stress. A seam running parallel to flex becomes a failure point.
- Collect reference images from at least three angles before drafting any pattern
- Use the plastic wrap and tape method for body-fitted armor panels
- Place 3D print seams perpendicular to the primary flex direction
- Orient print layer lines to resist the direction of greatest stress
- Build paper mockups before cutting final foam or printing final parts
Pro Tip: Print a small test section of any 3D model before committing to a full print run. A 10% scale test catches geometry errors and layer orientation problems before you waste filament.
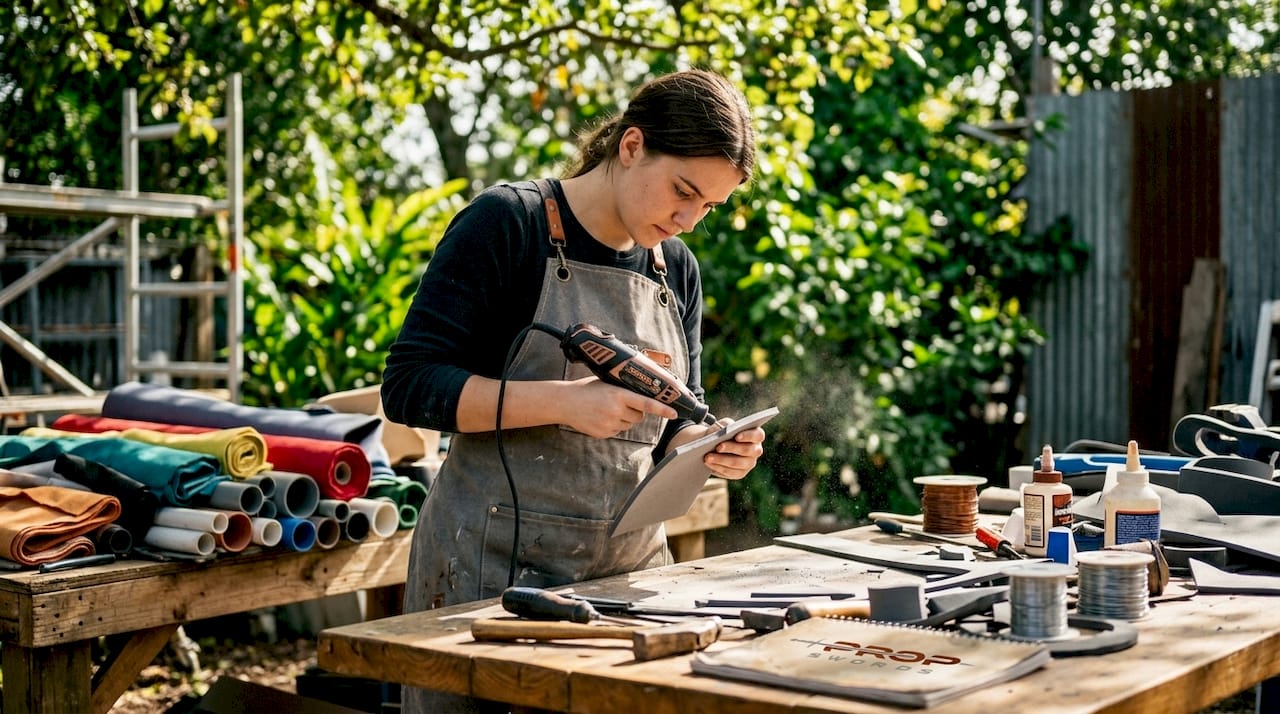
What are the step-by-step techniques for cutting, shaping, and assembling sword cosplay armor?
Cutting, shaping, and assembly form the physical core of the sword cosplay process. Each step builds on the last, and rushing any one of them creates problems that are hard to fix later.
- Transfer your pattern onto EVA foam or print your 3D model parts. Use a ballpoint pen on foam; it leaves a visible line without compressing the surface.
- Cut foam pieces with a sharp craft knife in a single smooth stroke. Multiple passes tear the foam cell structure and leave ragged edges.
- Heat shape foam with a heat gun set to medium distance. Move the gun evenly across the surface until the foam becomes pliable, then press it against a bowl, mannequin, or curved form to hold the shape while it cools.
- Sand 3D printed parts starting at 120 grit and finishing at 400 grit. This removes layer lines and gives primers a surface to grip.
- Glue foam assemblies with contact cement. Apply to both surfaces, wait until tacky, then press firmly. Contact cement bonds provide the strongest hold for EVA foam and resist the flex stress of wearable armor.
- Bond printed parts using the correct adhesive for the filament. PLA bonds well with CA glue on flat sanded surfaces; PETG requires two-part epoxy; ABS accepts acetone solvent welding.
- Reinforce structural joins with epoxy or fiberglass tape on the inside face of the seam. This step is especially critical for sword blade sections that experience repeated handling.
- Add mechanical fasteners where modular disassembly is needed. Embedded nut traps in printed parts allow bolt connections that hold firmly and come apart cleanly for transport.
Heat shaping EVA foam releases fumes that irritate the respiratory system. Always work in a ventilated space, wear a respirator rated for organic vapors, and keep the heat gun moving to avoid scorching the foam surface.
Pro Tip: Use your Dremel with a sanding drum to bevel foam edges at 45 degrees before gluing. Beveled seams sit flush and disappear under primer, while square-cut seams stay visible no matter how much filler you apply.
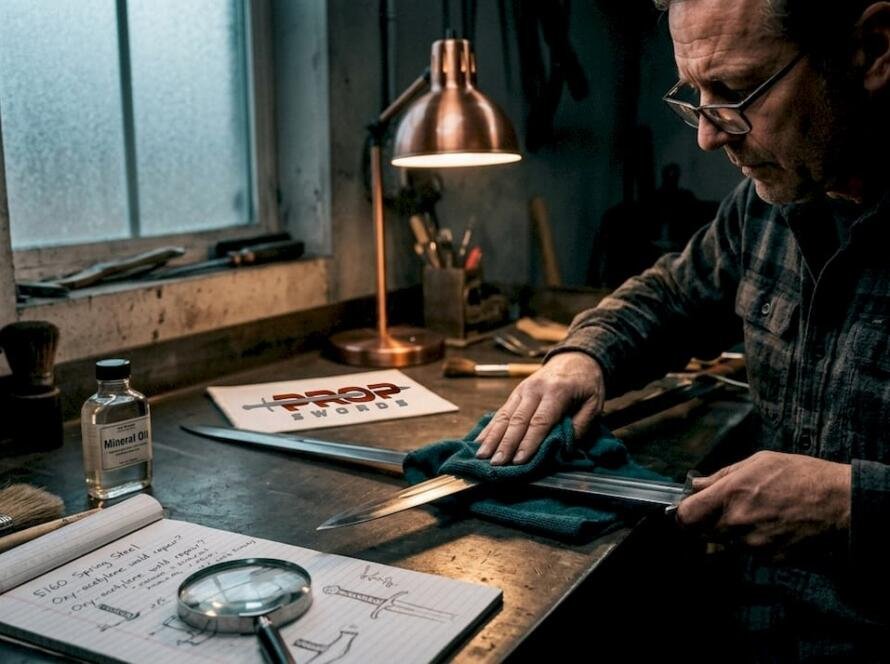
How to seal, paint, and finish sword cosplay armor professionally?
Finishing is the key difference between a good build and a professional-grade cosplay prop. Makers who rush to metallic top coat without building up layers produce flat, unconvincing results. A patient, multi-layer approach creates the depth and texture that reads as real metal or aged leather from across a convention floor.
The sealing stage comes first. EVA foam is porous, and paint applied directly to unsealed foam soaks in unevenly and cracks when the foam flexes. Plasti Dip, Mod Podge, and Flexbond are all proven sealants that seal foam pores effectively while staying flexible after curing. Apply two to three thin coats, letting each dry fully before the next.
| Product | Type | Best Use | Flexibility |
|---|---|---|---|
| Plasti Dip | Rubber sealant | Full foam sealing | High |
| Mod Podge | Acrylic medium | Light sealing, detail work | Medium |
| Flexbond | Flexible primer | Foam and Worbla sealing | High |
| Rustoleum Primer | Spray primer | 3D printed parts | Low |
The painting sequence follows a clear order. Start with a black base coat, which creates depth in recessed areas. Apply base colors next, then build metallic layers using dry-brushing to catch raised edges. Weathering comes last: thin brown and black washes settle into recesses and simulate grime and age.
- Seal with two to three coats of flexible primer before any color
- Apply a gloss black base coat to create shadow depth
- Dry-brush metallic paint onto raised surfaces only
- Use thin brown and black washes for weathering and grime effects
- Seal the finished paint with a matte or satin clear coat to protect the surface
Aerosol sealants and spray paints release harmful vapors. Use them outdoors or in a spray booth with active ventilation. Wear a respirator rated for organic vapors, not just a dust mask.
What are common mistakes in the sword cosplay armor workflow?
The most damaging mistakes in the armor crafting process share one cause: skipping steps to save time. Frequent mistakes include weak seams, misaligned patterns, paint cracking, and over-reliance on 3D printing without investing time in finishing. Each of these problems is preventable with the right habits.
- Weak seams: Gluing foam without waiting for contact cement to reach the tacky stage produces bonds that peel under stress. Always wait the full open time before pressing surfaces together.
- Paint cracking: Applying rigid spray paint directly to unsealed foam guarantees cracking. Flexible sealants must go on first.
- Poor pattern fit: Patterns drafted flat without accounting for body curvature produce armor that gaps or pinches. Use the plastic wrap and tape method for any body-contoured piece.
- Material warping: Printing large flat sword sections without internal supports causes warping during the print. Orient parts to minimize flat unsupported spans.
- Finishing underestimated: 3D printing accounts for roughly 33% of total project work. The remaining 67% goes to design, assembly, and finishing. Budget your time accordingly.
Pro Tip: Do a full wear test before you apply any paint. Put the assembled armor on, move through your planned poses, and check every seam and join under stress. Fixing a structural problem after painting costs you the entire paint job.
Key Takeaways
A successful sword cosplay armor build depends on accurate patterns, material-matched adhesives, and a patient multi-layer finishing process that separates functional props from professional-grade pieces.
| Point | Details |
|---|---|
| Match adhesive to material | Use contact cement for EVA foam, CA glue for PLA, and two-part epoxy for PETG. |
| Engineer seams for strength | Place 3D print seams perpendicular to the blade’s flex direction to prevent structural failure. |
| Seal before painting | Apply two to three coats of flexible primer before any color to prevent cracking. |
| Budget time for finishing | Printing is only 33% of the work; design, assembly, and finishing take the remaining 67%. |
| Test fit before painting | Wear-test the full assembled build and fix structural issues before applying any paint. |
What I have learned from building sword cosplay armor
The part of this workflow that most makers underestimate is the finishing stage. You can have perfect patterns and clean prints, but if you rush the sealing and painting, the prop looks like a school project. The multi-layer approach, sealing, priming, base coat, metallics, washes, and clear coat, takes patience. That patience is exactly what separates a prop that photographs like a film piece from one that reads as plastic from ten feet away.
Pattern accuracy is the other factor that pays dividends throughout the entire build. A pattern that fits correctly makes every downstream step easier. Gluing is cleaner, seams align naturally, and the finished piece sits on the body the way the character’s armor actually looks. I have seen makers spend hours trying to fix fit problems at the assembly stage that a better pattern would have prevented entirely.
The integration of 3D printing with traditional foam work is where the most interesting builds happen right now. Printed parts handle fine detail and rigid structural elements. Foam handles large curved surfaces and wearable flexibility. Using both materials in the same build, and knowing which job belongs to which material, produces results that neither technique achieves alone.
My honest advice: do not skip the wear test before painting. Every time I have skipped it, I have regretted it. Seams that look solid on the bench fail the moment you put the armor on and move. Fix structural problems while the build is still raw. Your paint job will thank you.
For a complete cosplay sword prep guide, Propswords covers the full preparation workflow in detail, including recommended starter approaches for new makers.
— Muhammad
Propswords replica swords to complete your cosplay armor build
Your armor build deserves a sword prop that matches its quality. A hand-crafted armor piece paired with a low-quality sword prop undermines the entire presentation.
Propswords carries a curated selection of high-detail replica swords built for convention use, photo shoots, and display. The top replica swords for 2026 collection covers anime, movie, Viking, and fantasy designs, with free shipping across the USA. Each replica is built to the detail level that complements a finished armor build rather than contrasting with it. Check the full sword accessory checklist to make sure your complete cosplay kit is convention-ready.
FAQ
What is the best base material for sword cosplay armor?
EVA foam in 5–10mm thickness is the most widely used base material for cosplay armor. It is lightweight, inexpensive, and easy to heat shape into curved forms.
How do I prevent paint from cracking on foam armor?
Apply two to three coats of a flexible sealant like Plasti Dip or Flexbond before any paint. Rigid primers applied directly to unsealed foam crack when the foam flexes during wear.
Where should I place seams on a 3D printed sword blade?
Split the blade at mid-length with the seam running perpendicular to the blade’s flex direction. This orientation resists the bending stress that causes seams to fail under handling.
How long does a full sword cosplay armor build take?
Build time varies by complexity, but 3D printing accounts for roughly 33% of total project time. Design, assembly, and finishing take the remaining 67%, so plan the majority of your schedule around those stages.
What glue works best for assembling cosplay armor parts?
Contact cement is the strongest bond for EVA foam. For 3D printed parts, use CA glue on flat-sanded PLA surfaces, two-part epoxy for PETG, and acetone solvent welding for ABS.