TL;DR:
- Medieval swords were precision-engineered tools that also served as symbols of status and craftsmanship.
- Key components like full tang construction, blade taper, and steel type are essential for authenticity and durability.
- Changes in design over time reflected advancements in armor and combat styles, influencing sword anatomy.
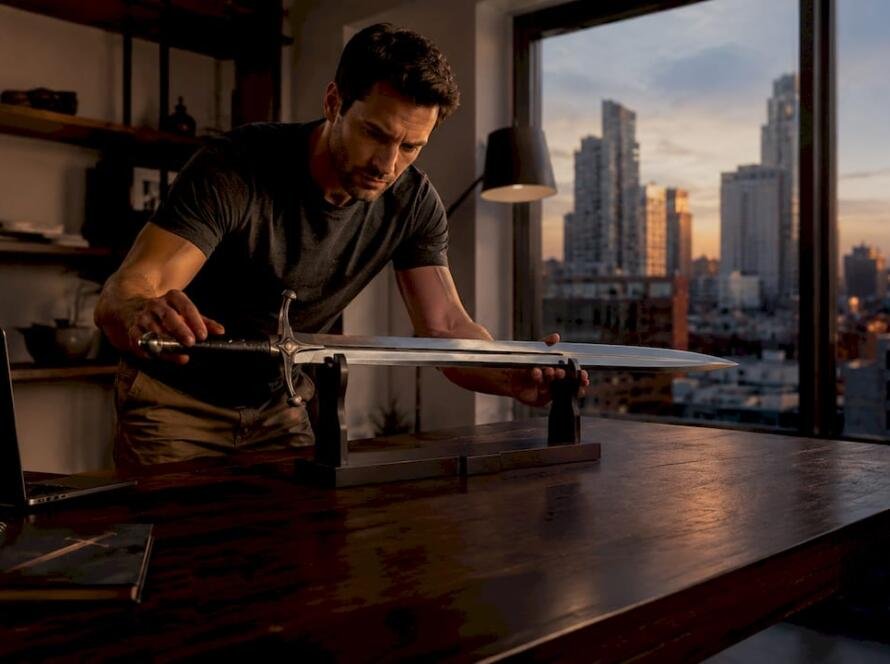
Most people picture a medieval sword as a heavy slab of iron swung by brute force. That image is almost entirely wrong. These weapons were precision instruments, engineered with the same care a watchmaker puts into a movement. Every curve, taper, and material choice served a specific purpose, and the anatomy of a sword told you as much about its owner’s status as it did about its function on the battlefield. Whether you collect replicas, cosplay, or simply love the history, understanding sword anatomy changes how you see every piece in your collection.
Table of Contents
- Core parts of a medieval sword
- Materials and forging techniques
- Evolution of medieval sword anatomy
- How anatomy affects authenticity and collecting
- A collector’s perspective: What most guides miss about medieval swords
- Begin your collector journey with Propswords
- Frequently asked questions
Key Takeaways
| Point | Details |
|---|---|
| Complex engineering | Medieval swords featured carefully balanced anatomy for function and status. |
| Material evolution | Forging shifted from pattern-welding to high-carbon steel for better durability. |
| Collecting wisdom | Collectors should focus on tang structure and accurate forging when evaluating authenticity. |
| Historical symbolism | Swords were generational heirlooms and valued at substantial cost. |
| Practical applications | Knowledge of anatomy aids cosplay, reenactment, and museum-quality collecting. |
Core parts of a medieval sword
Breaking down a medieval sword reveals an elegant system where every component works together. Nothing is decorative by accident, and nothing is purely functional without some element of craft.
The blade is the most obvious part, but it rewards close study. Blades were forged from high-carbon steel, a technology that replaced pattern-welding after 1000 CE, giving smiths more control over hardness and flexibility. The spine runs down the center and stays relatively soft so the blade can flex without snapping. The edges are hardened to hold a sharp cutting line. Many blades feature a fuller, a shallow groove running along the flat that reduces weight without sacrificing stiffness. This is often mistakenly called a “blood groove,” but its real job is structural, like a steel I-beam.
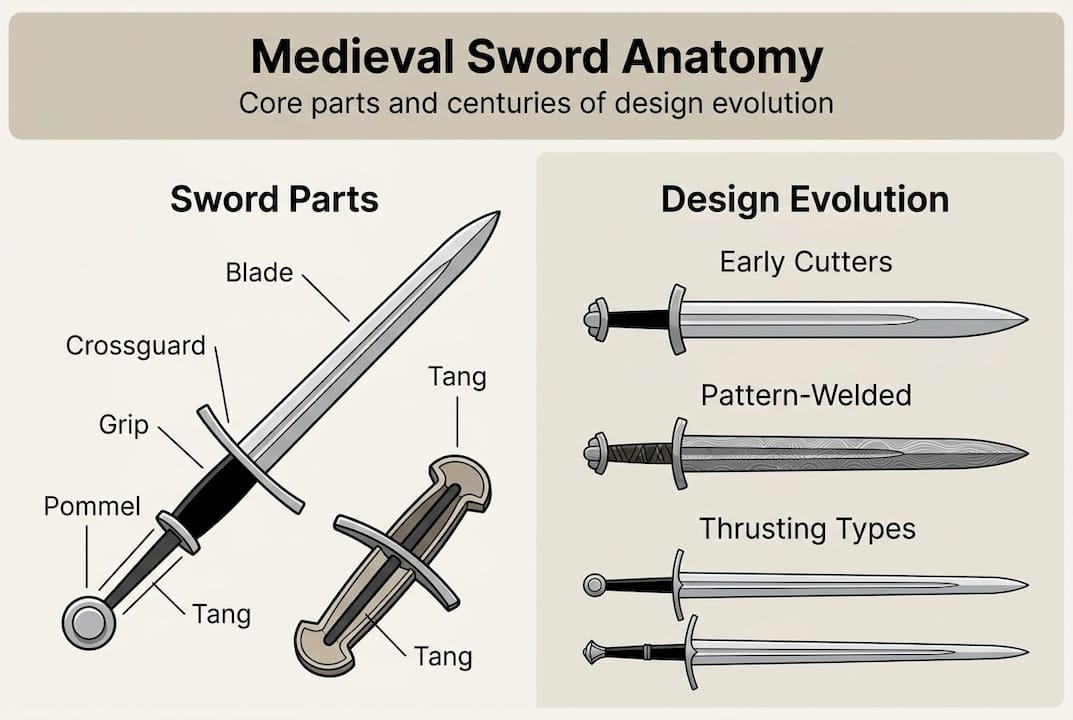
The crossguard sits between blade and grip. Its primary job is hand protection, stopping an opponent’s blade from sliding into your fingers. Style varied enormously across periods and regions, from simple straight bars to elaborate curved quillons. Crossguard shape is one of the best clues for dating a sword.
The grip is where the sword meets the hand. Grips were typically wrapped in leather or wire over a wooden core, shaped to fit comfortably during extended use. Length and shape varied by sword type, from single-hand grips to the long “hand-and-a-half” designs that allowed flexible use.
The pommel at the base of the grip does more than finish the handle. It acts as a counterweight, shifting the sword’s balance point closer to the hand and making the weapon far more maneuverable. Pommels came in dozens of shapes, each associated with specific periods and cultures.
The tang is the hidden hero. It is the extension of the blade that runs through the grip and is peened over the pommel to lock everything together. A full tang, running the full length of the grip, indicates a structurally sound sword. Partial tangs are a warning sign in both antiques and replicas.
| Part | Primary function | Secondary function |
|---|---|---|
| Blade | Cutting or thrusting | Parrying |
| Crossguard | Hand protection | Balance |
| Grip | Control | Comfort |
| Pommel | Counterweight | Decoration |
| Tang | Structural integrity | Connects all parts |
Key features to check when evaluating any sword:
- Full-length tang construction
- Consistent taper from base to tip
- Fuller depth and symmetry
- Crossguard fit and finish
- Pommel attachment method
Pro Tip: When evaluating a collectible, always ask about tang construction. A sword with a solid full tang and peened pommel will outlast and outperform one with a threaded bolt holding the handle together. For more on what to look for, check out choosing the perfect medieval sword and learn about long-term medieval sword care.
Materials and forging techniques
Knowing the parts is one thing. Understanding what they are made from and how they were made reveals why medieval swords were so extraordinary for their time.
Early medieval swords used pattern-welding, a process of twisting and folding different iron alloys together to create a blade with varied properties across its width. The result was visually striking, with wavy patterns visible in the steel. However, pattern welding was phased out by the 9th to 10th century as smiths gained access to more consistent high-carbon steel. Monosteel blades, forged from a single piece of steel, became the standard because they were stronger, more predictable, and faster to produce.
| Method | Period | Strength | Visual effect |
|---|---|---|---|
| Pattern-welding | Pre-900 CE | Variable | Wavy grain visible |
| Monosteel | Post-1000 CE | Consistent | Uniform surface |
The forging process itself was long and demanding. A finished sword could represent a full month of skilled labor, which explains why swords carried enormous economic and social weight. The steps involved:
- Select and prepare high-carbon steel stock
- Heat the steel to working temperature in a forge
- Hammer the blade shape, creating taper and profile
- Form the fuller by using a specialized tool under the hammer
- Normalize the steel by heating and cooling slowly to relieve stress
- Harden the blade by quenching in water or oil
- Temper the blade by reheating to a lower temperature, balancing hardness and flexibility
- Grind and polish the blade to final geometry
- Fit and attach the crossguard, grip, and pommel
- Peen the tang over the pommel to lock all components
The result was a blade that was hard at the edge for cutting and flexible at the spine to absorb shock. This is not primitive technology. It is the same principle modern knife makers use today.
Swords were so valuable that one sword equaled 16 cows in trade value, placing them firmly in the luxury category. Only warriors of real standing could afford them. For more on the sword’s historical significance and how that value shaped their design, the historical record is remarkably detailed. Explore authentic Viking sword examples to see how these construction principles appear in real pieces, and review medieval sword care tips to protect the finish on your own collection.
Evolution of medieval sword anatomy
Materials and methods evolved, and so did the shape of the sword itself. The changes were not random. They tracked directly with developments in armor and fighting styles.
Early medieval swords, including those used by Viking warriors and Carolingian knights, were designed primarily for cutting. Blades were wide, relatively flat in cross section, and tapered gently toward a rounded tip. The fuller ran most of the blade’s length to reduce weight. These swords were optimized for slashing attacks against lightly armored opponents.
As armor improved through the 12th and 13th centuries, the calculus changed. Mail armor could absorb cutting blows, so swords needed to thrust into gaps between plates or drive through mail links. Blades became narrower and stiffer, with sharper points and a more pronounced taper. The fuller shortened or disappeared entirely. By the late medieval period, some swords were almost entirely thrusting weapons.
This progression is captured in the Oakeshott typology, a classification system developed by historian Ewart Oakeshott that organizes swords by blade shape and cross section. The Oakeshott typology tracks these changes across roughly 20 types, giving collectors and historians a shared language for describing swords.
“Swords were not merely weapons. They were passed from father to son, named, and treated as living things. A man’s sword was his reputation made physical.”
The contrast between early Viking swords and high medieval designs is striking when you hold both. The Viking sword feels alive in the hand, eager to swing. The later thrusting sword feels precise, almost clinical. Neither is crude. Both reflect exactly what their era demanded.
Key anatomical shifts across the medieval period:
- Blade profile narrowed from wide and flat to tapered and stiff
- Fuller length shortened as thrusting replaced cutting as the primary attack
- Crossguard styles evolved from simple bars to complex swept designs
- Pommel shapes shifted from disc and brazil-nut forms to wheel and fig designs
- Grip length increased to accommodate two-handed use in later periods
Pro Tip: Study the Oakeshott type of any sword before purchasing a replica for reenactment. A Type X Viking sword and a Type XVIII late medieval sword are built for completely different combat contexts. Matching the type to your period makes your kit far more convincing. See Viking sword history and collecting and authentic medieval sword examples for practical guidance.
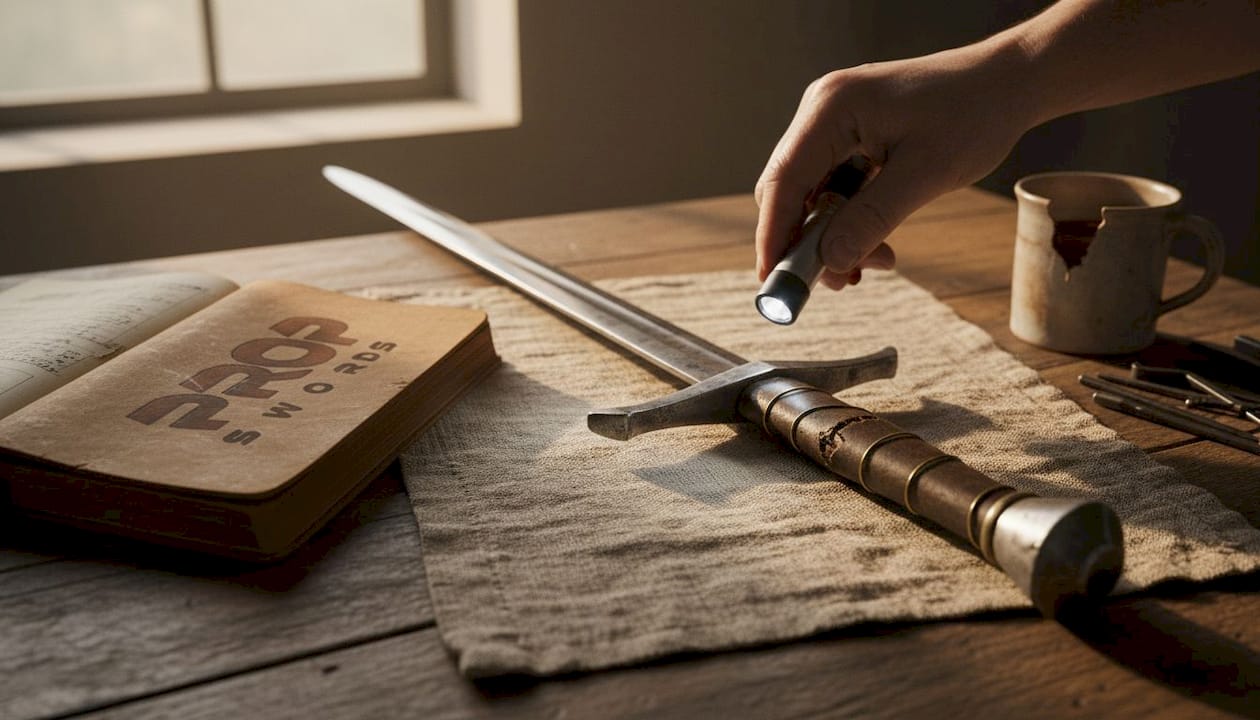
How anatomy affects authenticity and collecting
All of this history has direct, practical value for collectors and cosplayers. Knowing sword anatomy means you can evaluate a piece intelligently instead of guessing based on looks alone.
Medieval swords were passed down through generations and valued at roughly half a crown, equal to 16 cows. That kind of value means every element was built to last and to mean something. When you assess a replica, you are measuring it against that standard.
What to look for when evaluating authenticity:
- Tang construction: Full tang with peened pommel is the gold standard
- Blade geometry: Correct taper, profile, and fuller placement for the stated period
- Steel type: High-carbon steel for functional pieces, stainless for display only
- Crossguard fit: Should be tight with no wobble
- Period accuracy: Does the pommel shape match the typology claimed?
- Weight and balance: A well-made sword balances near the crossguard, not at the tip
For display pieces, surface finish and detail matter more. For reenactment, balance and durability take priority. These are different goals and require different evaluation criteria.
Pro Tip: Documentation and provenance boost a sword’s value significantly. If a piece comes with maker’s marks, certificates, or historical records, that information is worth preserving carefully.
Maintenance is where many collectors fall short. Even high-quality replicas need regular attention to stay in top condition. A light coat of oil on the blade prevents rust, while the grip and pommel benefit from occasional cleaning and conditioning. For detailed guidance, the replica sword maintenance tips resource covers everything from blade oiling to storage. If you plan to use your sword in reenactments, review using swords in reenactments for safety and authenticity considerations. For display, medieval sword display advice and the complete sword display checklist will help you show your collection at its best.
A collector’s perspective: What most guides miss about medieval swords
Most articles focus on the romantic story of the sword. The battles, the legends, the kings. That is fine, but it misses what actually separates a great sword from a mediocre one.
The tang is boring to look at. You cannot even see it. But it is the single most important structural element in the entire weapon. A sword with a beautiful blade and a poorly fitted tang is a liability, not a collectible. When we handle pieces at Propswords, the first thing we check is how the pommel is attached. A threaded bolt is a shortcut. A peened tang is a commitment.
The other thing most guides ignore is balance. People obsess over blade length and crossguard style, but a sword that tips forward at the tip feels exhausting to hold. A sword that balances near the guard almost swings itself. That balance is the result of every component working together, and it is the clearest sign of genuine craftsmanship.
Authenticity is not just surface deep. Internal structure tells the real story. Solid replica maintenance wisdom starts with understanding what you actually own.
Begin your collector journey with Propswords
If reading about sword anatomy has made you want to hold a well-crafted piece in your hands, that instinct is worth following.

Propswords offers a curated range of replica swords built with attention to the anatomical details covered in this article. From Viking-inspired designs with historically accurate fuller placement to fantasy replicas that capture the spirit of medieval craftsmanship, the collection is built for people who know what they are looking at. Free shipping within the USA makes starting or expanding your collection easier. Once your piece arrives, the sword maintenance guide will help you keep it in display-ready condition for years.
Frequently asked questions
What is the most important part of a medieval sword for collectors?
The tang and blade construction determine both authenticity and value. A full tang peened over the pommel signals genuine structural integrity and period-correct craftsmanship.
How can you tell if a replica sword is historically accurate?
Check the forging method, steel type, and tang design against the stated period. Pattern welding phased out by the 9th to 10th century, so a Viking-era replica claiming monosteel construction is actually more accurate than one using pattern-welded steel.
Were medieval swords really heavy and crude?
No. Skilled engineering produced balanced, functional weapons that were status symbols as much as tools of war. Most properly made medieval swords weighed between 2 and 4 pounds.
Why did medieval sword anatomy change over time?
Improved armor forced swords to evolve from wide cutting blades to narrow thrusting designs. The Oakeshott typology tracks these changes across roughly 20 distinct blade types spanning the full medieval period.
How valuable were medieval swords historically?
A single sword was worth up to half a crown, equal to 16 cows in trade value and representing roughly a full month of skilled labor to produce.